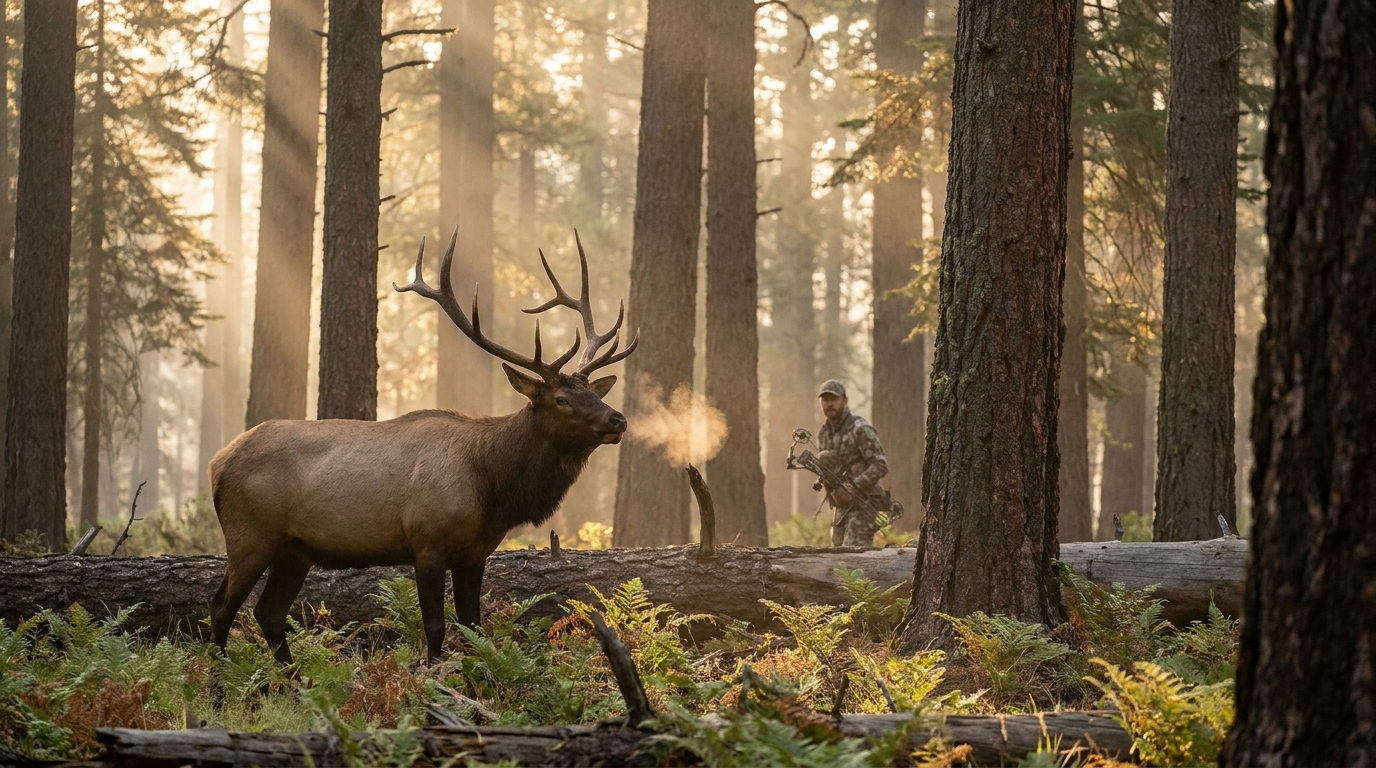
Spend time at any public archery range during the weeks before elk season and you will see the same pattern: hunters drawing compound bows, punching the trigger the moment pins float near the target, arrows flying with no consistency. It works at 20 yards on a stationary block. It fails at 40 yards when a 300-inch bull is quartering away and your heart is hammering at 140 beats per minute. The difference between a clean kill and a wasted tag often comes down to whether your shot cycle is built on mechanics that hold up under pressure, or hope.
The Shot Cycle: What It Is and Why It Matters
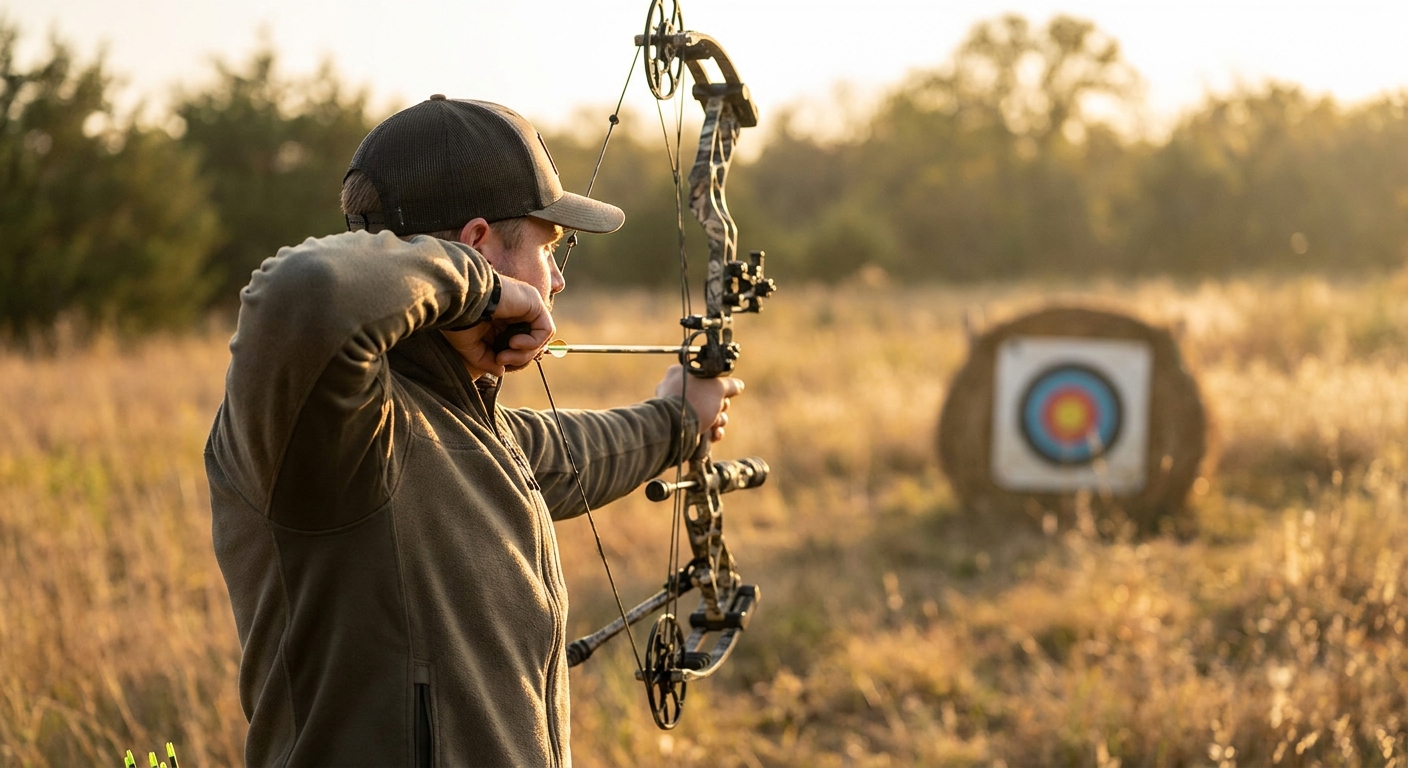
A shot cycle is the repeatable sequence of physical positions and mental checkpoints you execute from stance to follow-through on every single shot. Every serious target archer has one. Most successful hunters have one even if they have never put a name to it. When your shot cycle is deeply ingrained through correct repetition, it fires on autopilot in the field even when adrenaline has temporarily reduced your IQ by 40 points.
Step 1: Stance and Bone Structure
Your stance sets the foundation. For most compound hunters, a square stance (feet parallel to the target line, shoulder-width apart) or a slight open stance (front foot angled 20-30 degrees toward the target) works well. The goal is a stable, repeatable platform with no muscular tension holding you upright.
Before drawing, think bone alignment. Your bow arm shoulder should be down and forward, not raised toward your ear. A raised shoulder creates tension in the deltoid and tricep that will fatigue and shift shot to shot. Lock your skeleton into position with the muscles relaxed around it.
Step 2: The Grip - Contact Points Matter
The bow grip is where most form problems begin. A death grip on the riser torques the bow left and right throughout the shot, sending arrows sideways in unpredictable ways. Instead:
- Pressure should fall on the lifeline of the palm, the meaty pad below the thumb on the same side as the index finger
- The fingers should be relaxed, curled loosely or extended
- The thumb should point generally toward the target, not wrapped tightly around the grip
- After the shot, the bow should tip forward and downward in a relaxed hand without you reaching for it
Put a loop of wrist sling paracord on your bow and you can fully relax your hand during the shot, eliminating grip torque entirely.
Step 3: Drawing and Anchor Point
Draw with your back, not your arm. The feeling should be like using your shoulder blade to initiate and complete the draw, with the arm acting as a connector rather than the prime mover. Compound shooters who arm-draw tend to lose control at the wall and punch triggers to escape the resistance.
Anchor point consistency is non-negotiable. Your anchor is your rear sight. If it moves, your point of impact moves. Common compound anchor references include:
- Kisser button at the corner of the mouth
- String touching the tip of the nose
- Release hand thumb knuckle touching the jaw
- Peep sight alignment with the housing being the primary visual anchor
Pick two or three that you can feel independently and verify against each other. If all three land in the same place every time, your anchor is consistent.
Step 4: Aiming and Back Tension
Once at anchor with consistent peep and pin alignment, the aiming phase should be driven by active back tension, not willpower applied to a trigger finger. Think about squeezing a pencil between your shoulder blades while maintaining pin float on the target. As tension builds, the shot should break naturally or be directed off the back tension by a deliberate but relaxed trigger pull.
The goal is that the exact moment of firing is slightly surprising to you, even when you intended it. This eliminates anticipation flinch, the number one cause of low and left arrow impacts in right-handed shooters.
Step 5: Follow-Through
Follow-through is what happens after the arrow leaves the bow. It is not something you do so much as what happens when everything before it is done correctly. Your bow arm should stay up and pointed at the target, your release hand should move back toward your ear as back tension is completed, and your eyes should stay on the target, not tracking the arrow in flight.
If your bow is dropping dramatically before the arrow clears the riser, you are anticipating and dropping your shoulder early. Record yourself with your phone. The camera is brutally honest in a way your feelings during the shot are not.
Pressure-Proofing Your Shot Cycle
Perfect form at the bench means nothing if it evaporates at the moment of truth. Build pressure inoculation into your practice:
- One-shot drills: Draw, hold for 8-10 seconds at full draw, then fire. No second chances.
- Cold shots: First arrow of the day, no warmup, at a realistic hunting distance. How does your first shot hold up?
- Physical exertion: Do 20 jumping jacks, then immediately draw and shoot. Learn what your form feels like when your heart is elevated.
- Shooting from elevated positions, kneeling, and through simulated shooting lanes to mirror field conditions.
Final Thought
The shot cycle is not magic. It is engineering. Build it correctly with clean repetitions, verify it under pressure, and trust it in the field. The elk does not care about your form, but your tag filling or not depending on arrow placement very much does.