There's no argument more common at an archery pro shop in August than the one about whether paper tuning actually matters. It does. A bow launching arrows with significant nock-high or nock-left flight is a bow that's fighting itself — broadheads will plane unpredictably, fletching will make contact with the shelf or rest, and your groups will open up at hunting distances. Paper tuning is a 30-minute process that catches problems you'd otherwise not discover until you're watching your arrow sail six inches left of a bull at 40 yards.
With Oregon's archery opener arriving in late August, now is the time to get your bow dialed before the season pressure hits. Here's how to do it systematically.
What You Need
- A paper tuning frame or stand (a simple PVC frame with newspaper or butcher paper stretched across it works perfectly)
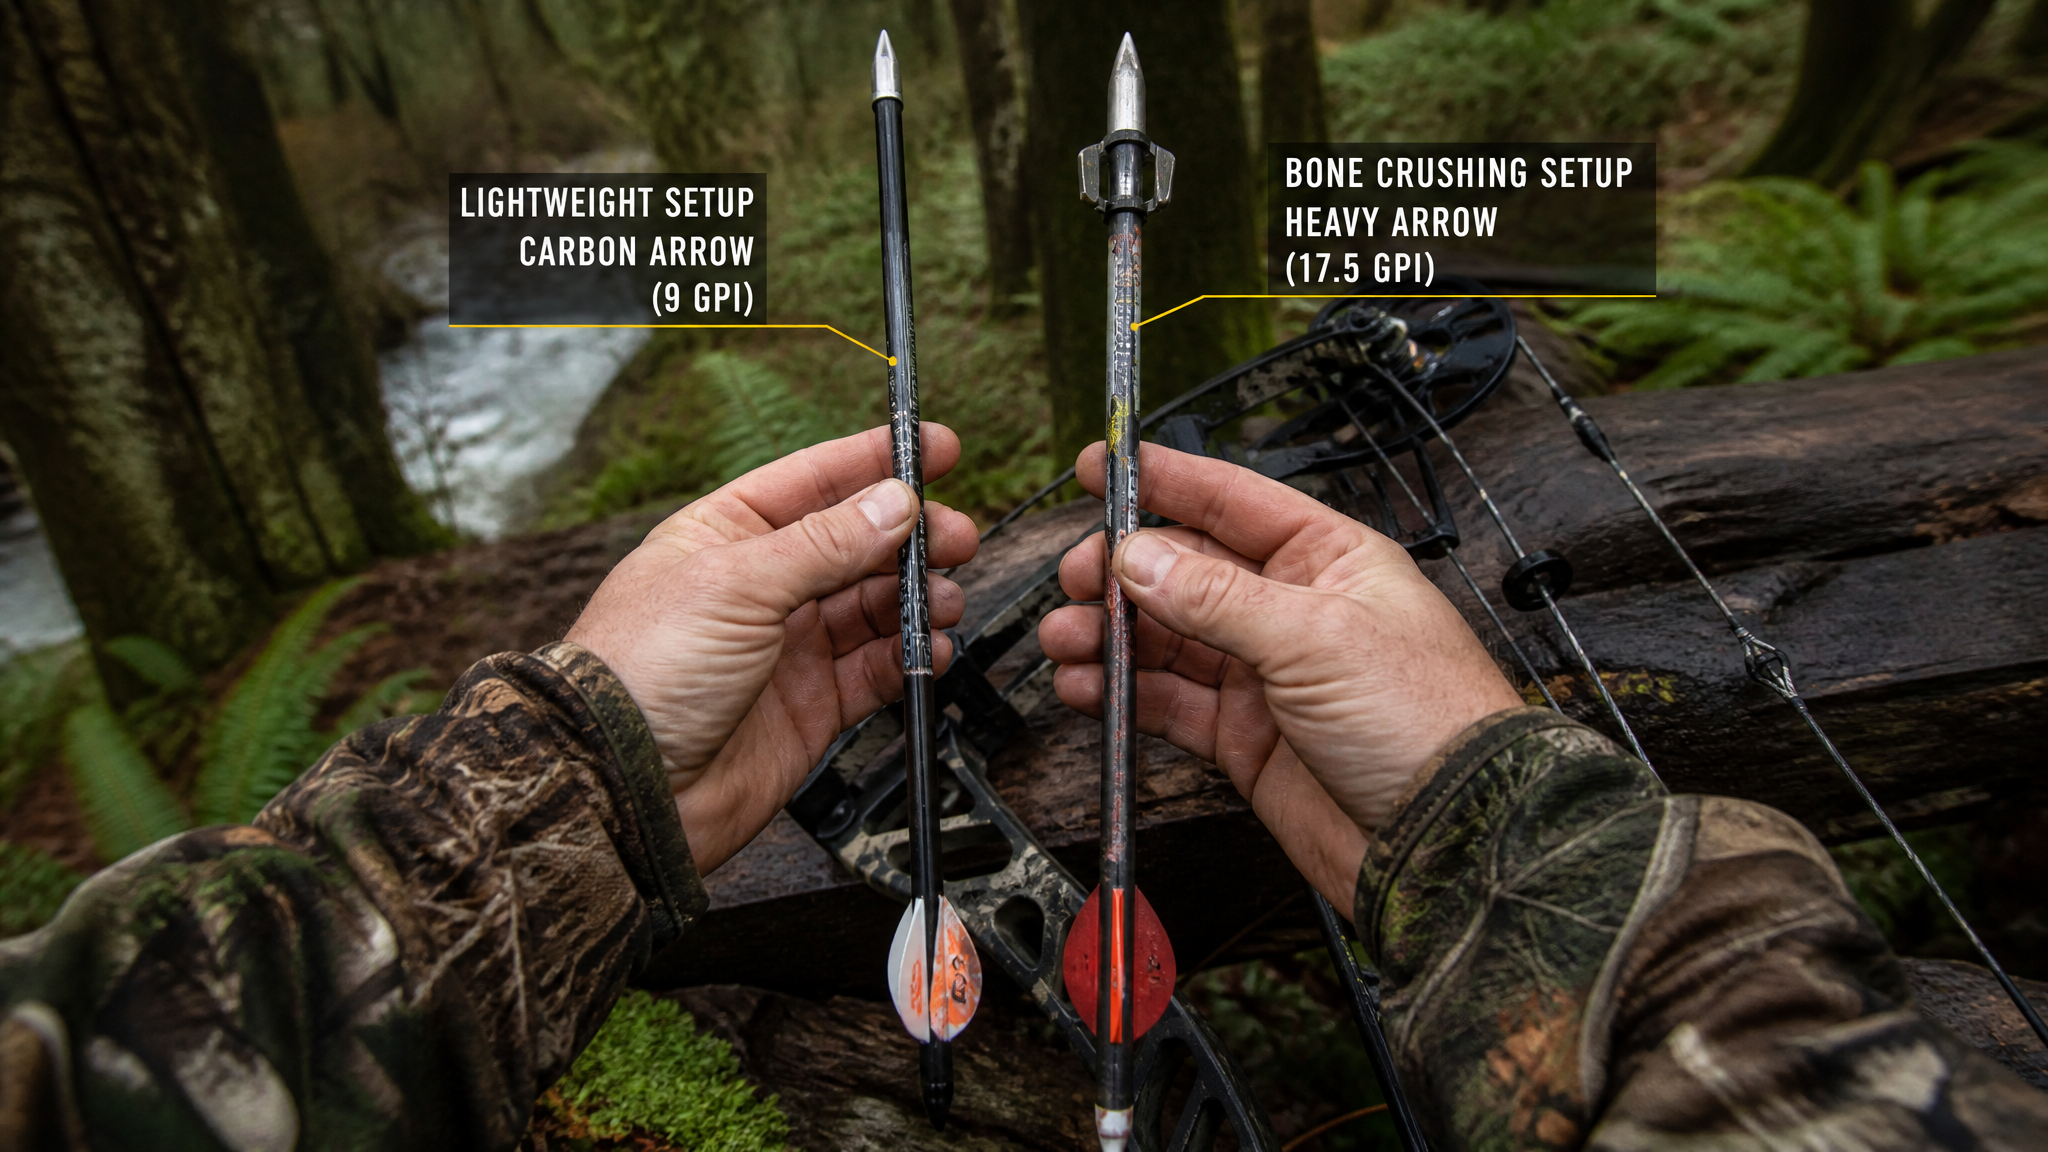
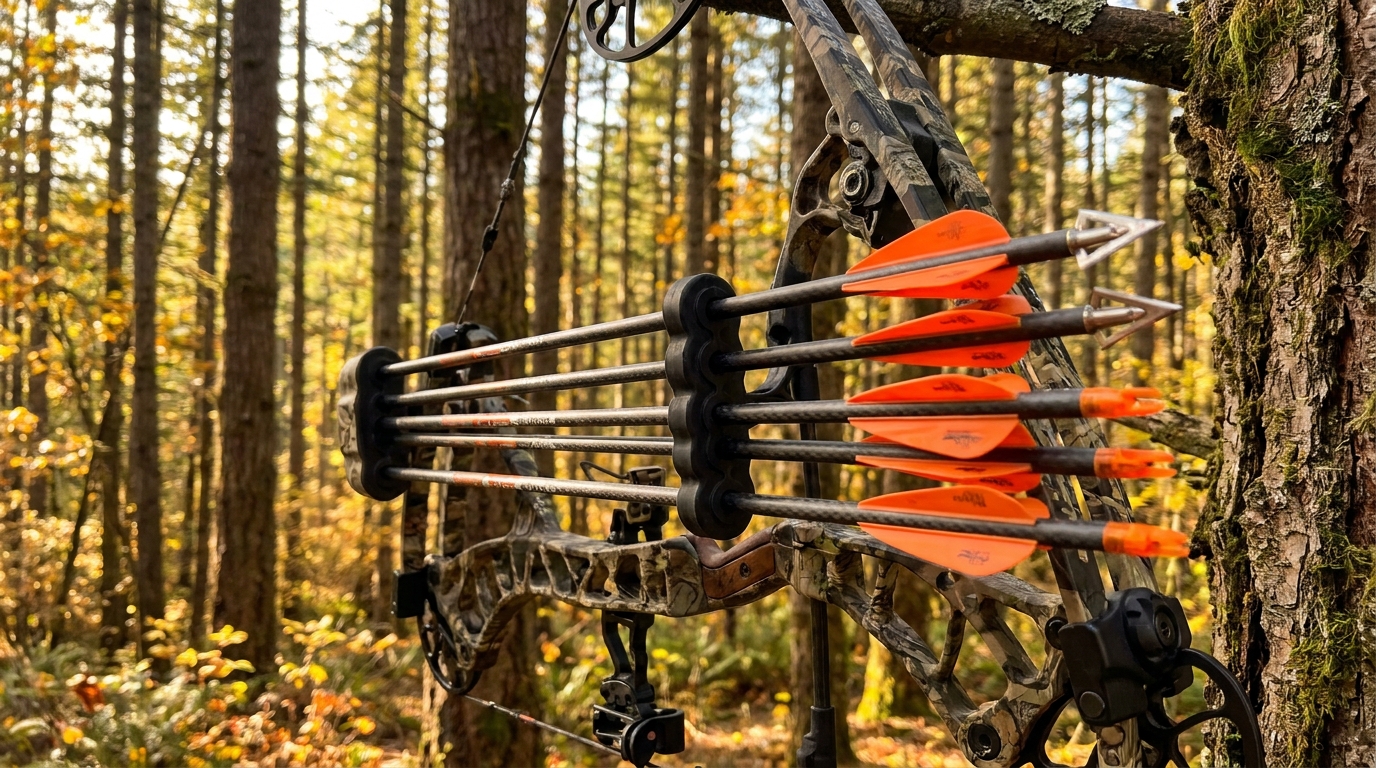
- Your hunting arrows with field points — same weight as your broadheads
- A nocking point or D-loop properly installed
- Allen wrenches to adjust your rest and nocking point
- A bow press if you need to move the D-loop (though many adjustments can be made without one)
- A marker to label tear results on the paper
Setup: The Rules Before You Shoot
Paper tuning only gives accurate information if your form is consistent. A shaky shot through the paper tells you nothing useful — or worse, leads you to the wrong diagnosis. Before you start:
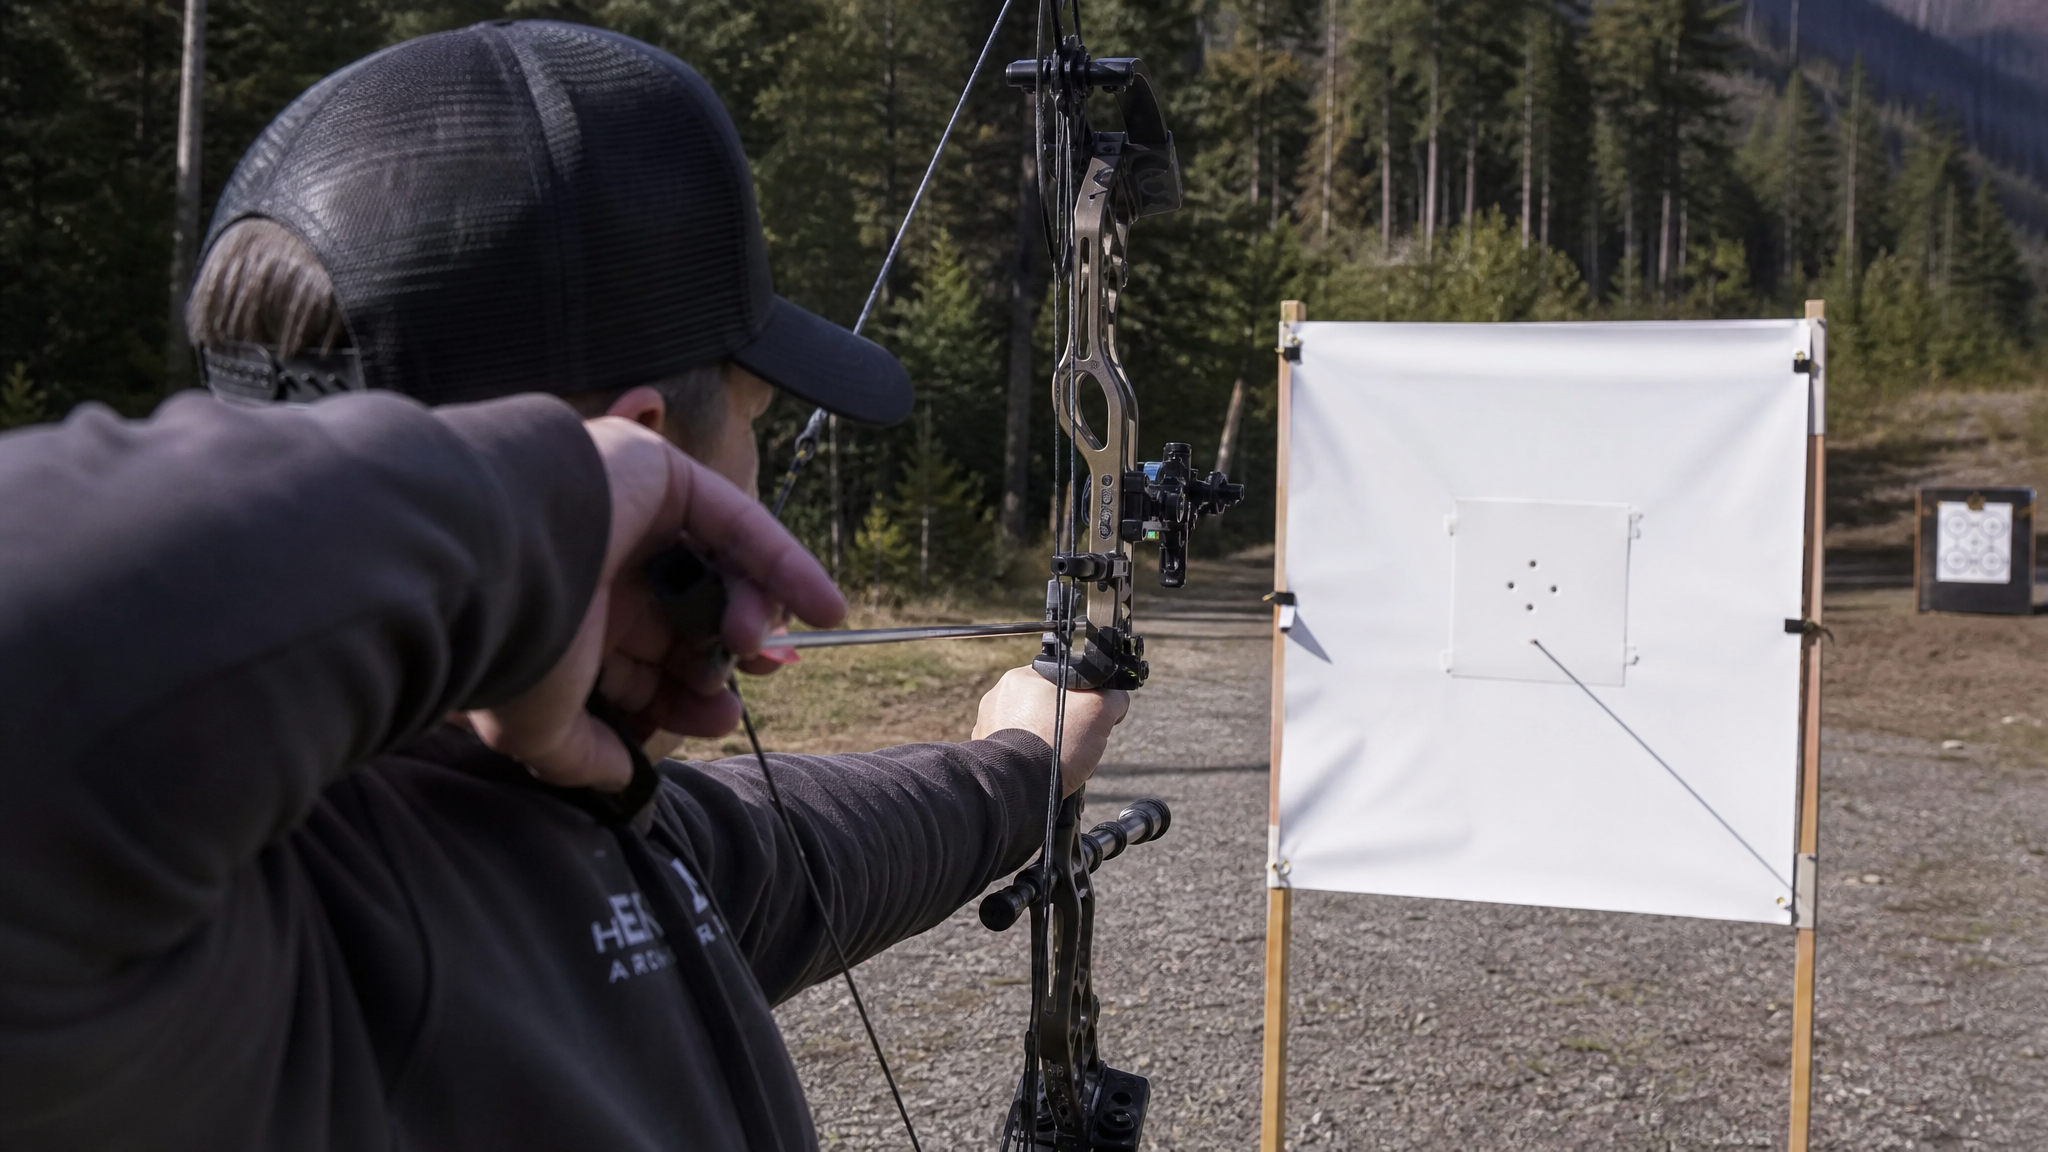
- Shoot from 6 to 8 feet from the paper. Not closer, not farther. At this distance, the arrow hasn't had time to correct itself with fletching, so the tear reflects the arrow's actual launch angle from the rest.
- Use a solid anchor point. Every shot should come from the same draw length, same anchor, same grip pressure.
- Use your hunting release. Don't paper tune with a finger release if you'll be hunting with a wrist strap trigger.
- Shoot three shots per adjustment and look for consistency. One tear means nothing; three consistent tears in the same direction mean something real.
Reading the Tear
A perfect bullet hole — a round point entry with three symmetrical fletching slits — means your arrow is leaving the bow in perfect alignment. Anything else tells you something specific:
Nock High (Tail-Up Tear)
The point hole is lower than the nock slits. The arrow is launching with the tail high. This is the most common tear and the easiest to fix.
- Move your arrow rest down, or
- Move your nocking point or D-loop up on the string
Make small adjustments — 1/16 inch at a time. Repeat until the tear is clean.
Nock Low (Tail-Down Tear)
The point hole is above the nock slits. Less common than nock-high but happens with certain rest and nock point combinations.
- Move your arrow rest up, or
- Move your nocking point or D-loop down on the string
Nock Left (Right-Handed Shooter)
The point is to the right of the nock. Arrow is kicking left at launch — typically a center-shot or timing issue.
- Move your arrow rest to the right (toward the riser) to correct center shot
- Check cam timing if the tear persists after rest adjustment — a cam that's out of sync will create horizontal tears that rest movement can't fully fix
- Check for string contact with your arm guard or clothing
Nock Right (Right-Handed Shooter)
The point is to the left of the nock. Move rest to the left. Also check your grip — a torqued grip is the most common cause of a persistent nock-right tear that doesn't respond to rest adjustment.
The Priority Order for Adjustments
Paper tuning works best when you address issues in a specific sequence. Don't jump to cam timing if you haven't addressed the basics:
- Arrow spine: If you have a severe tear — more than an inch — and can't tune it out with rest or nocking point adjustments, your arrows may be under- or over-spined for your draw weight and length. Start with properly spined arrows.
- Rest position (vertical): Fix nock-high/low tears first, before addressing left-right tears.
- Rest position (horizontal): Address center shot and left/right tears once vertical is clean.
- Cam timing and draw length: Only address these if rest and nocking point adjustments can't get you to a bullet hole. This usually requires a bow press and a professional eye if you're not experienced with timing adjustments.
After the Paper: Walk-Back Tuning
Paper tuning confirms arrow flight at close range. Walk-back tuning confirms that your sight and rest are aligned for accuracy at hunting distances. After you achieve a bullet hole at 6 to 8 feet:
- Set your sight for 20 yards. Put a small dot target at eye level.
- Aim at the same dot from 20, 30, 40, and 50 yards — using only your 20-yard pin for all shots.
- Your arrows should form a vertical line straight down from the 20-yard impact point. If they drift left or right, adjust your rest left or right by 1/32-inch increments until the line is plumb.
Walk-back tuning is more sensitive than paper tuning at detecting horizontal rest position errors. A bow that paper-tunes clean but walk-back tunes poorly usually has a grip or center-shot issue that paper didn't catch.
Finishing with Broadheads
Once your bow is paper-tuned and walk-back-confirmed, shoot broadheads at distance. Start at 20 yards and compare groups with your field points. If broadheads hit within an inch of your field points at 20 yards, you're good to go. If they don't, you have an arrow flight issue that paper tuning didn't fully resolve, or your broadheads need adjustment (with mechanical heads, check blade clearance; with fixed-blade heads, consider a different profile or spin-test each arrow for wobble).
The whole process — frame setup, shooting, adjustments, walk-back confirmation — takes less than an hour on a quiet afternoon. Put that hour in now, in August, before the pressure of the season pushes you to skip it. Your shot on a bull elk in the Ochoco timber or a blacktail buck in the Coast Range fog deserves a bow that's working perfectly from launch to impact.