Most hunters choose a powder charge by splitting the difference between start and max in the manual, fire a group or two at the bench, and head to the field. That approach produces mediocre results — acceptable accuracy that falls apart when conditions change, velocity that differs from the book, and no real understanding of where the node is in your specific rifle. A systematic load development process takes more time and more components up front, but the result is a load built on data rather than guesswork.
Here's the process we use for working up hunting loads from scratch, applicable to any cartridge from 6.5 Creedmoor to .300 Win Mag.
Before You Start: What You Need
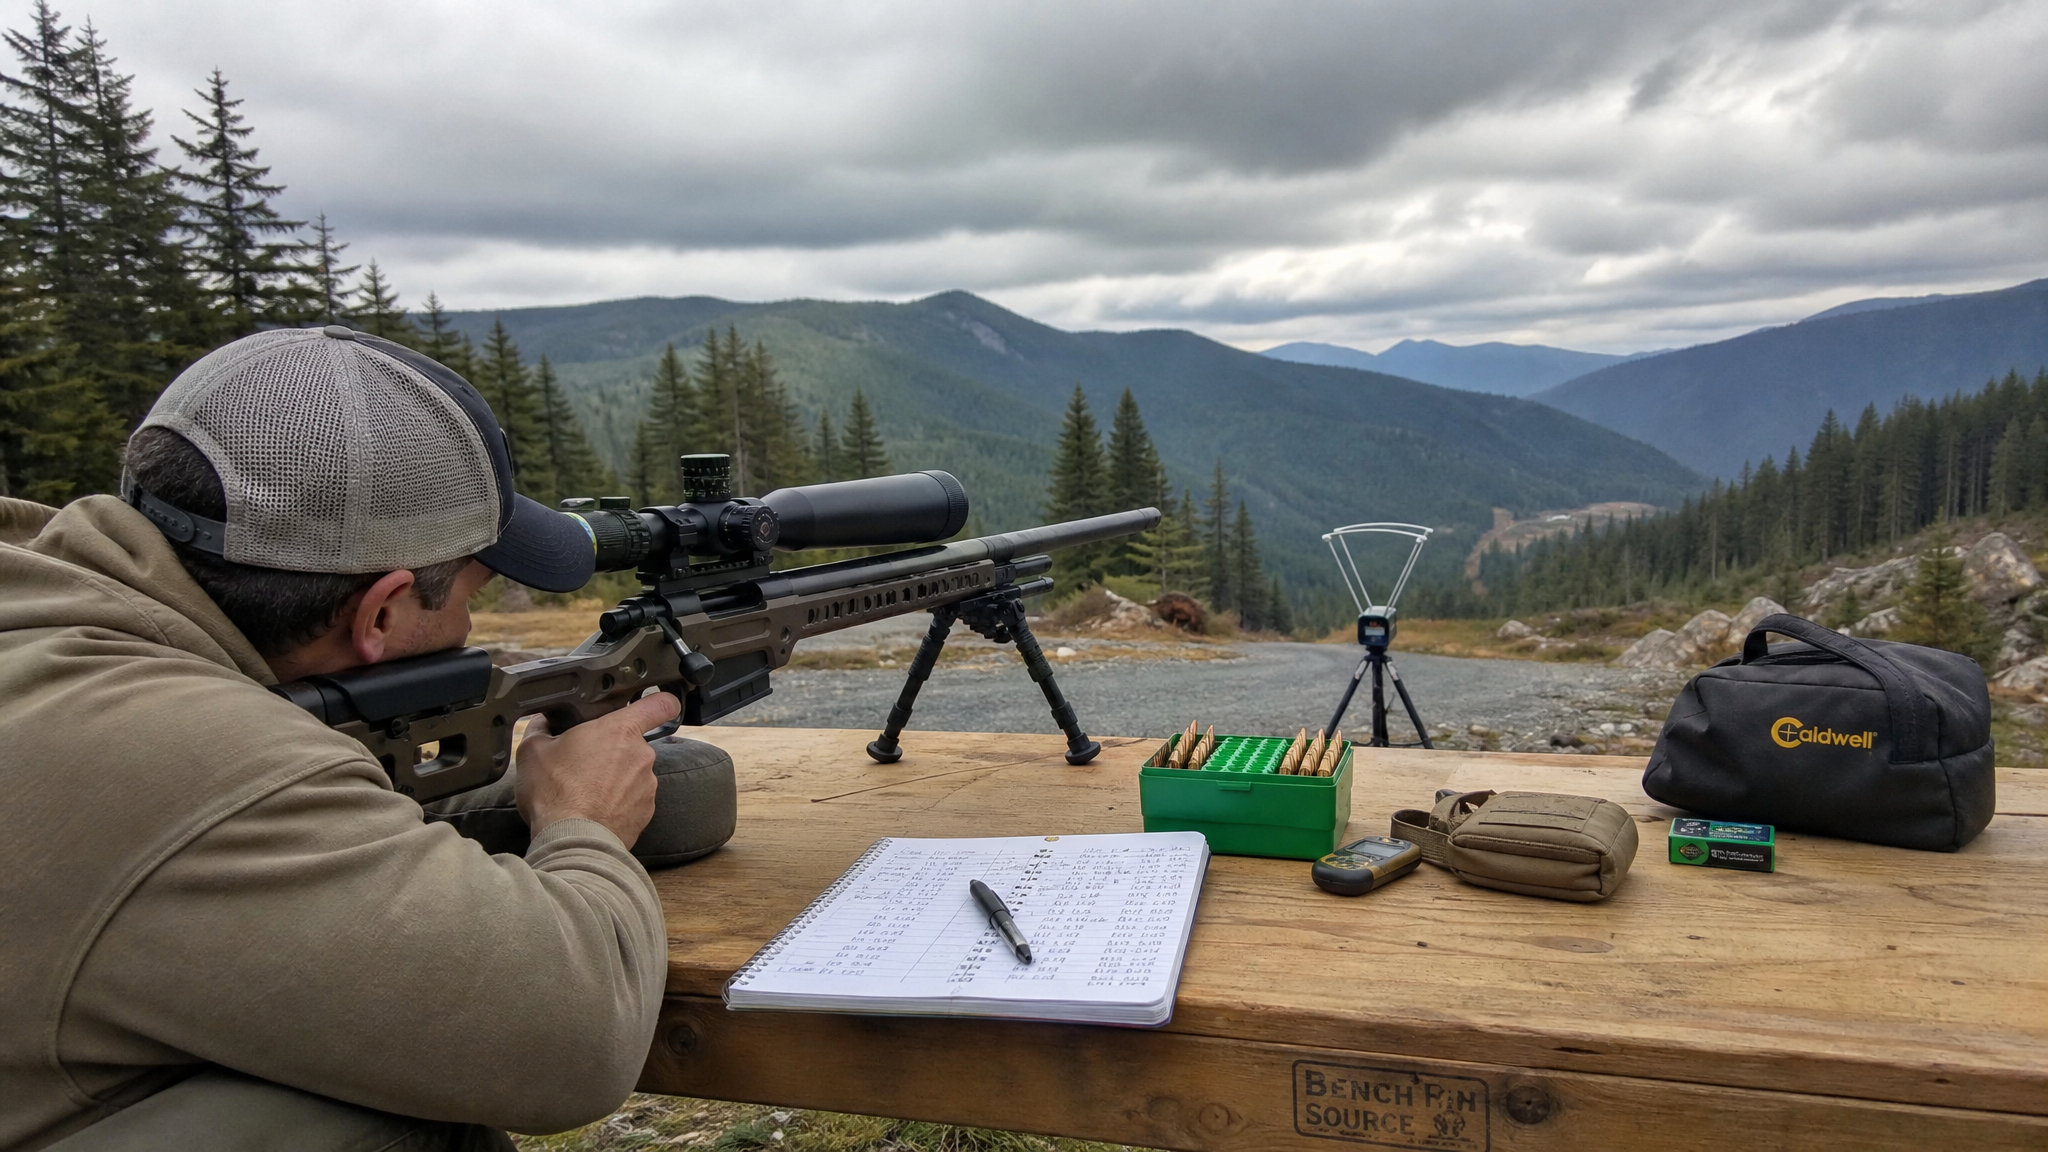
- Chronograph: Essential. Magnetospeed V3 or LabRadar are the gold standards. A standard Caldwell or Shooting Chrony works fine as a budget option.
- Quality bench rest: Sandbag front rest and rear bag, or a Caldwell Lead Sled. You're testing the load, not your hold.
- A clean, consistent barrel: Start load development with a freshly cleaned barrel — then leave it dirty for subsequent groups to simulate hunting conditions.
- Consistent components: Use one lot of brass, one lot of primers, one jug of powder for the entire development process.
- Notebook and pen: Record every shot, charge weight, temperature, and group size.
Step 1: The Ladder Test
The ladder test, popularized by Creighton Audette, is the fastest way to identify powder charge nodes in a new cartridge-rifle combination. Fire one round at each charge weight, working up from start load to max load in small increments (0.5-grain steps for magnum cartridges, 0.3-grain for smaller cases). Do this at 300 yards — or at least 200 yards — and watch for groups of shots clustering at the same point of impact.
How to Run a Ladder
- Load one round each of 10–12 charge weights, starting 10% below the published maximum and stepping up in 0.5-grain increments. Label each round.
- Fire each shot in sequence from a cold (or consistently fouled) barrel, taking a 3-minute cooling pause between shots.
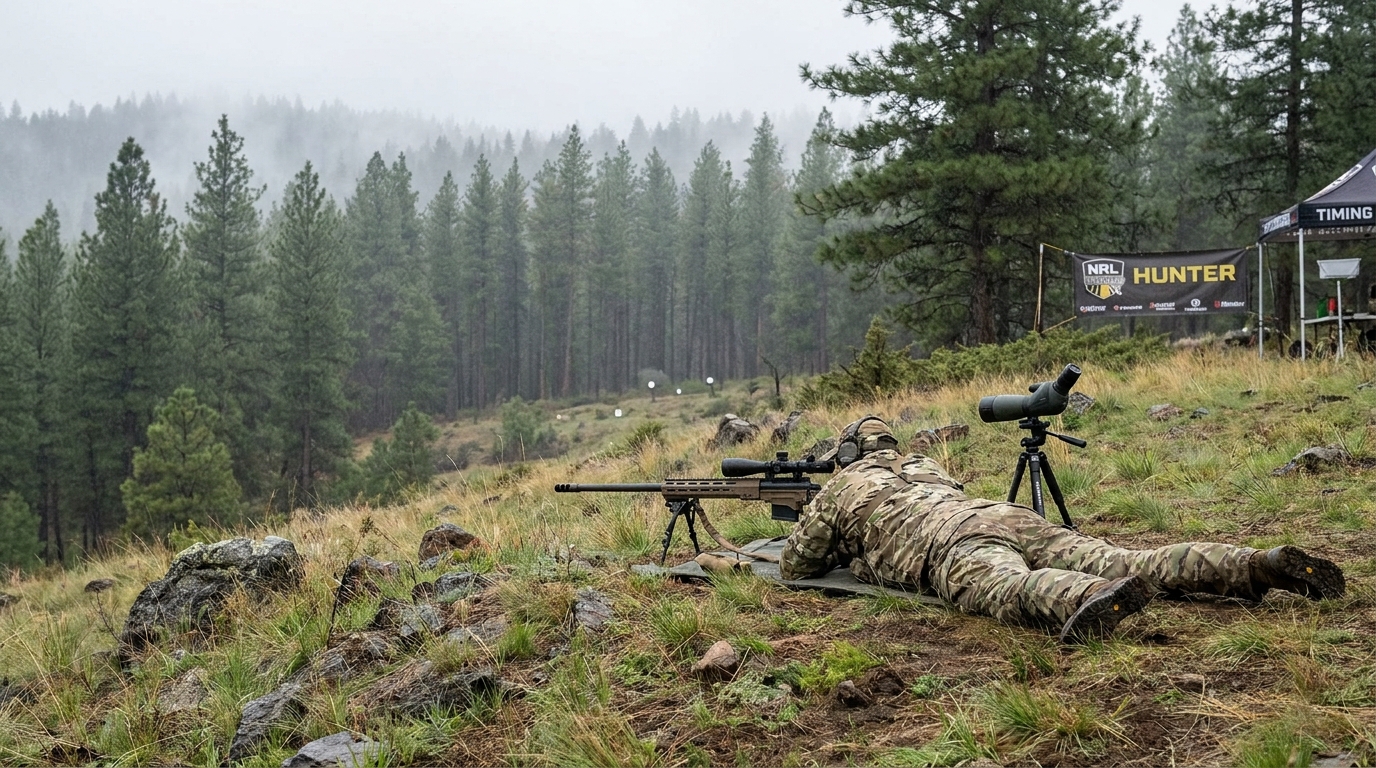
- Spot impacts with a spotting scope after each shot. Note the vertical dispersion on the target.
- Look for two or three consecutive shots that land within 1 inch of each other vertically despite different charge weights — this is your node. Horizontal dispersion at this stage is wind; vertical dispersion is load sensitivity.
When consecutive shots cluster vertically, you've found a charge weight region where small powder variations produce consistent velocity. That's where you want to be.
Step 2: OCW Groups
Once the ladder identifies one or two candidate nodes, confirm them with Optimal Charge Weight (OCW) groups. The OCW method, developed by Dan Newberry, shows you not just where velocity is consistent, but where the rifle is mechanically tuned to the load.
Running OCW Groups
- Load 5-round groups at three charge weights: your ladder node, 0.5 grains below it, and 0.5 grains above it.
- Fire 5-shot groups at 100 yards from a clean, cool barrel with appropriate cooling time between shots.
- Compare the point of impact (POI) for each group — not just group size, but where each group centers on the target.
- The optimal charge is where all three groups have nearly the same POI. When your minus-0.5, node, and plus-0.5 groups all land within 1 inch of each other, the load is insensitive to small powder variations.
Step 3: Chronograph the Winner
Chronograph a 10-shot string and record:
- Average velocity (MV)
- Standard deviation (SD): Aim for under 15 fps; under 10 fps is excellent
- Extreme spread (ES): Under 50 fps is the target for hunting loads
- Temperature at the time of recording
The velocity data goes into your ballistic calculator (Applied Ballistics, Hornady 4DOF, or Kestrel's built-in solver) to generate a DOPE chart for field use. Without real chronograph data, your ballistic calculator is guessing.
Step 4: Seating Depth
For most hunting rifles with factory chambers, seating depth experiments can squeeze additional accuracy from an already good load. Try 0.020-inch increments in each direction from your starting COAL to see if the rifle has a preference. For hunting loads, a jump of 0.010–0.050 inch off the rifling lands is typical and safe for magazine feeding. Do not chase bullet-to-land contact in a magazine rifle — it can cause pressure spikes.
Step 5: Field Confirmation
Before hunting season, shoot your confirmed load from positions you'll actually use in the field: prone with a bipod, sitting over shooting sticks, kneeling off a pack. Confirm zero at your hunting distance. Also shoot your first shot of the day from a cold bore on a clean barrel — many hunting rifles print a cold-bore shot 0.5–1.5 inches from the group center. Know your rifle's cold bore offset before the season starts.
Temperature Sensitivity
In the Pacific Northwest, hunting conditions span 30°F to 90°F depending on season and elevation. Powder charge velocity can vary 30–80 fps per 30°F change with temperature-sensitive powders. Hodgdon Extreme powders (Varget, H4350, H4831) and Alliant Reloder 16/17/26 are among the most temperature-stable options. If your load development happens in 75°F August weather and you're hunting in 30°F October conditions, chronograph your load again in cold conditions to know your actual hunting velocity.
This whole process takes two to three range sessions and 60–80 rounds per load candidate. It's more work than grabbing a box of factory ammo — but the result is a load you know intimately, built for your specific rifle, at your specific elevation. That's the difference between a rifle that shoots and a rifle that performs.