You put months of scouting into your deer or elk, drew a hard tag, and made a perfect shot. The last thing you want to do now is ruin the cape for a shoulder mount with a careless cut. Taxidermists across Oregon see butchered capes every fall — cuts that are too short, ear cartilage torn away, bullet holes expanded by poor handling, or hair-slipped hides that sat too long before being cooled. Learn to cape your animal correctly in the field and you'll hand your taxidermist something they can actually work with.
Before You Start: Cooling and Timing
Heat is your enemy. Bacteria begin destroying hair follicles rapidly once an animal is dead, especially in warm September and early October weather. If you're hunting in temperatures above 50°F, plan to have the cape off, rolled fur-side out, and in a game bag or cooler within two hours of the kill. In hot weather — the kind common during Oregon's early archery season — that window shrinks to an hour.
Do not gut the animal before caping if you're planning a shoulder mount. Keep the hide intact and cool as you work. Gut the animal separately from the rear once the cape is removed.
The Tools You Need
- A sharp, thin-bladed caping knife (a 3–4 inch drop-point or clip-point blade works best)
- A backup knife or freshly stropped blade for finishing work
- Latex or nitrile gloves to protect both the hide and your hands
- Salt — at least 5 pounds for a deer, 10–15 for an elk
- A game bag for transport
Where to Make Your Cuts
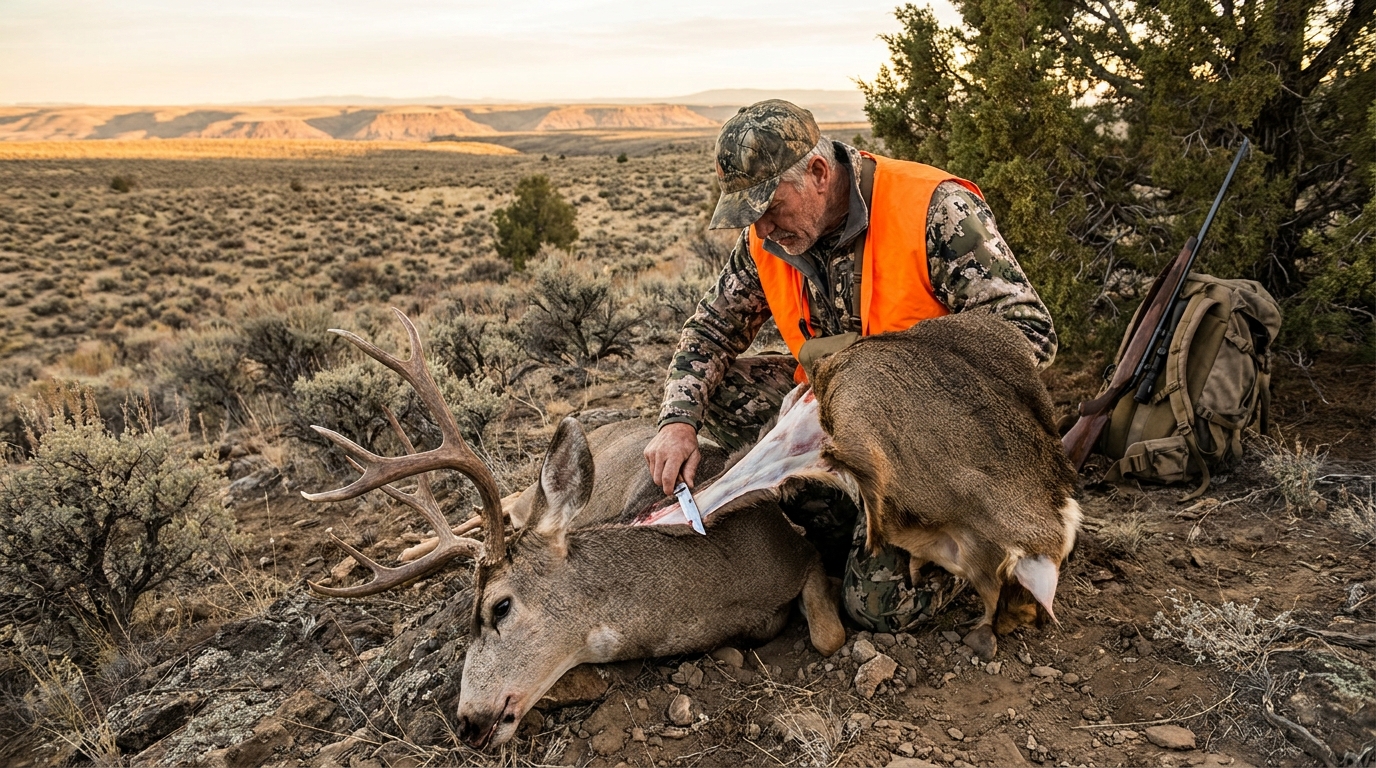
The most common mistake hunters make is starting the cape cut too far forward — right behind the shoulders. Taxidermists need significantly more hide than most people expect to work with. Make your initial body cut behind the front legs at approximately the midpoint of the ribcage. You should have six to eight inches of hide behind the shoulder blade when finished. When in doubt, leave more hide, not less.
Step 1: The Body Circumference Cut
Make a clean cut completely around the body at the midpoint of the ribcage, behind both front legs. Keep the cut perpendicular to the spine. This is your base circle.
Step 2: Leg Cuts
From the main body cut, run a straight cut up the back of each front leg to approximately the knee joint. Circle the leg at the knee with a complete cut. These cuts free the cape from the body without shortening the brisket area that forms the base of the mount.
Step 3: Dorsal Cut
From the midpoint of the body circumference cut, run a single straight cut up the center of the back of the neck to a point just behind the base of the skull, between the ears. This is the cut that your taxidermist will hide in the back seam of the finished mount. Keep it straight and on the exact centerline of the neck.
Step 4: Peeling the Cape
Begin working the hide free from the carcass. Use your fist as much as possible — "fist caping" by pushing between the hide and the carcass membrane causes far less damage than cutting. You'll need to use the knife carefully around the brisket, shoulder blade, and windpipe.
As you work up the neck, the hide will peel more freely. Continue until you reach the base of the skull.
Step 5: Around the Head — Where Most Errors Happen
Severing the head cleanly at the atlas joint (the joint between the skull and first neck vertebra) is the cleanest approach in the field. Use a sturdy knife or a small folding saw. Cut as close to the skull as possible to preserve neck length.
If you're comfortable with detailed skinning, you can skin the head in the field. Cut around the antler burrs first, leaving the pedicle skin attached to the skull. Work the ear butts free carefully — cut as close to the skull as possible, leaving the entire ear canal attached to the cape. Skin out to the eye, and use your knife tip to cut inside the eyelid, leaving the full eyelid attached to the hide. The lips require careful work to leave adequate skin for the taxidermist to sew — always cut from the inside, keeping as much lip leather on the hide as possible. The nose cartilage should stay attached to the hide.
Salting and Preserving the Cape
Once the cape is free, flesh any thick meat deposits from the hide, particularly around the neck and cheeks. Turn the ears inside out. Apply a liberal coat of non-iodized salt — table salt or pickling salt, never rock salt with anti-caking agents — to every inch of the flesh side. Work it into the ear skin, lips, and eye areas thoroughly. Roll the cape flesh-to-flesh and place it in a breathable bag.
Do not seal a salted cape in a plastic bag — it will trap moisture and cause slippage. Allow it to breathe, and get it to your taxidermist or a freezer as quickly as possible.
For Elk
The same principles apply to elk, with everything scaled up. Elk hides are significantly heavier and harder to work alone — bring help if possible. The neck skin on a mature bull is incredibly thick and requires extra care to salt thoroughly. An elk cape can take 25+ pounds of salt for initial treatment. If you're packing out of the backcountry, get the cape as thin as possible by fleshing and salting, then refrigerate or freeze it at your first opportunity.
Communication with Your Taxidermist
Call your taxidermist before your hunt, not after. Ask specifically where they want the cuts made, how they prefer the cape delivered (frozen vs. fresh-salted), and whether they want the head skinned or just the cape to the atlas joint. Different taxidermists have different preferences, and accommodating them makes for a better finished mount.
A good cape, properly handled, is the difference between a stunning shoulder mount that looks alive and a mediocre one that doesn't do your animal justice. Take the extra twenty minutes to do it right.